Petasense
Vibration Mote – How to Install
Installing Petasense Vibration Motes is simple and does not require any special skills. Each Vibration Mote takes just 5-10 minutes to mount. Start monitoring the health of your industrial machines in four simple steps:
1. Power up the Mote
2. Prepare the machine surface
3. Mix the epoxy
4. Mount the Mote
What you will need:
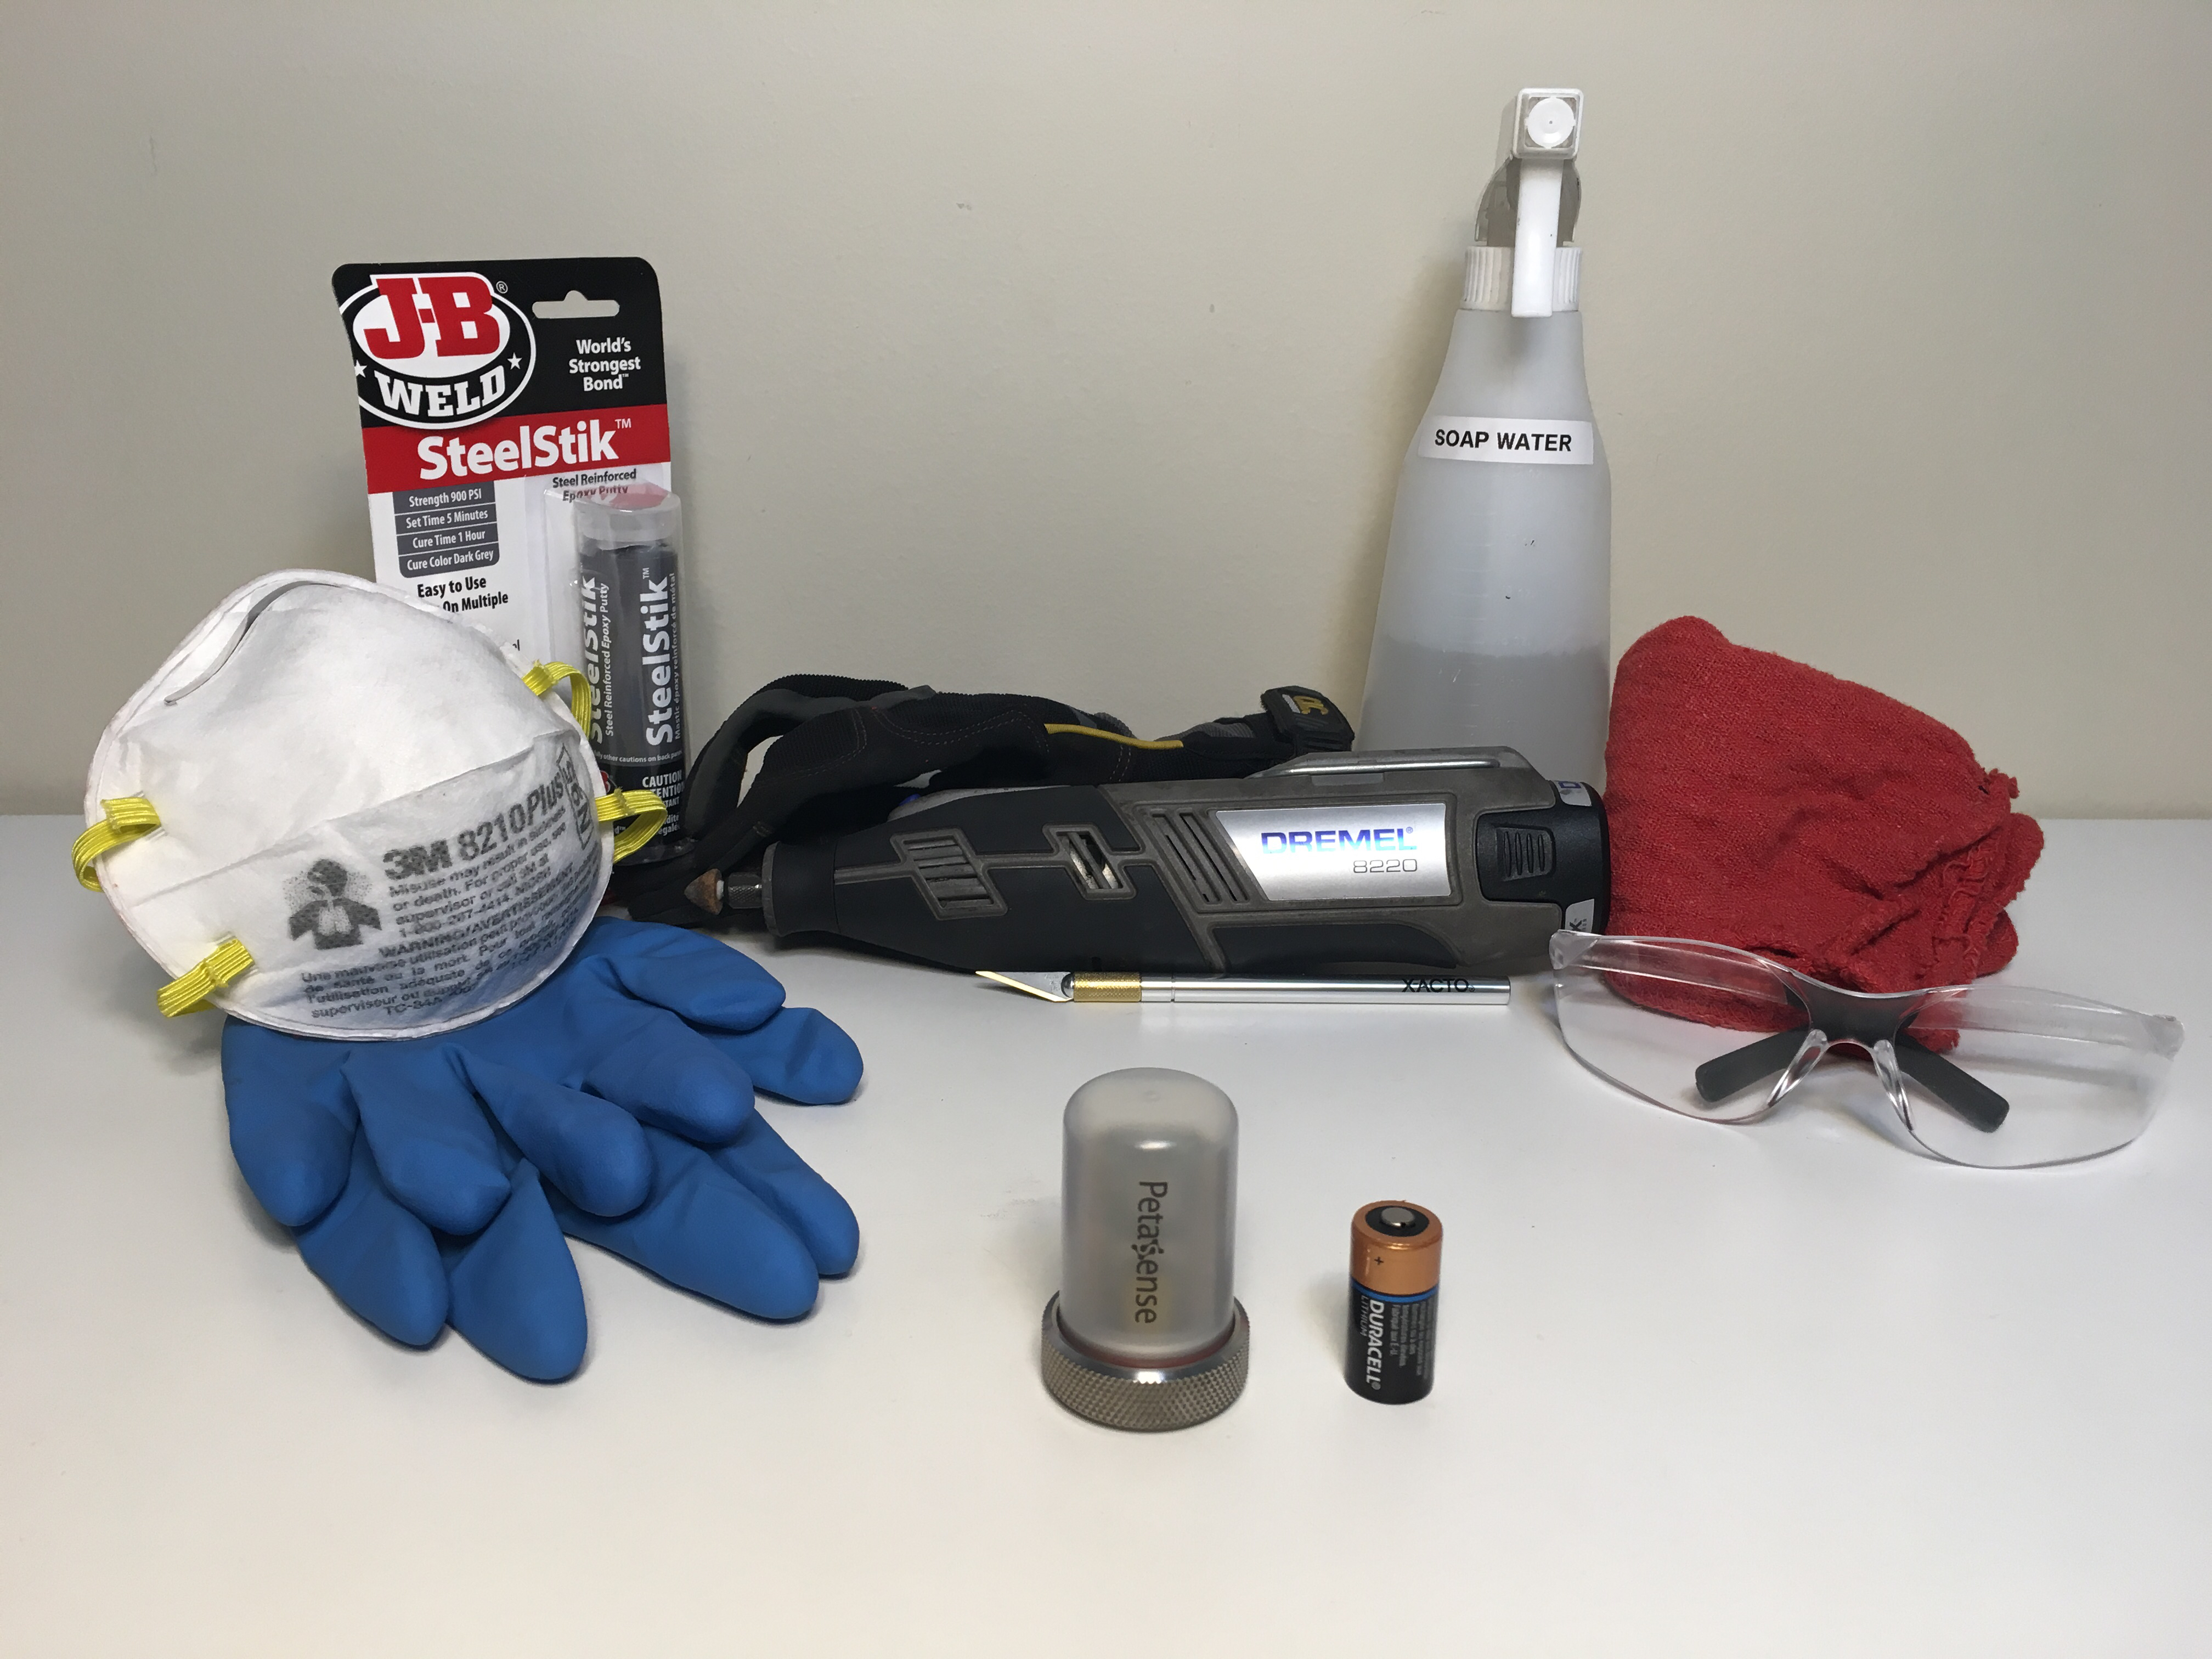
- • Petasense Motes
- • CR123A 3V Batteries (Duracell recommended)
- • Handheld rotary tool with sanding attachment (Dremel recommended)
- • 2-part steel-enforced epoxy (JB Weld SteelStik recommended)
- • X-Acto knife
- • Rubber gloves (for mixing epoxy)
- • Soap and water mixture (1:1)
- • Shop towels
- • Protective glasses
- • Protective gloves
- • Dust mask
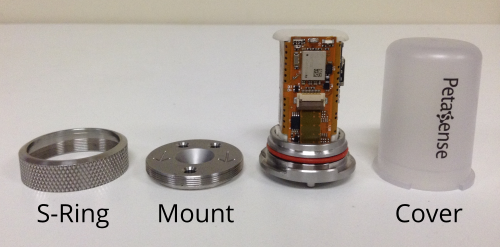
Mote Components
These instructions will reference specific components of the Mote as follows:
Before Getting Started
0-1 Confirm that your WiFi network provides coverage in the machine areas. If possible, perform a brief site survey with a mobile device.
0-2 Prepare the appropriate sized pieces of 2-part steel-enforced epoxy. Each Mote requires a 2.5 – 3 gram piece of epoxy. Each tube of JB-Weld SteelStik will contain enough epoxy for approximately 20 Motes.
0-3 Document the allocation of your Motes very carefully. Keep a record of the serial numbers of your Motes and which machines they are mounted on. This attention to detail is essential for any successful asset monitoring program.
Note: Before handling Petasense Motes, be sure to wash your hands to avoid getting dirt or other particles inside the device.
Let’s get started.
Step 1 – Power up the Mote
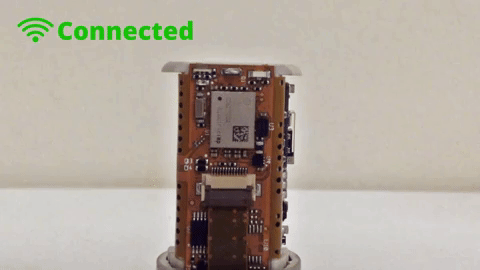
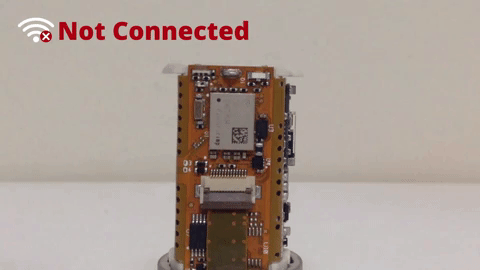
1-1 Remove the Mote cover and insert a new CR123A battery. The Mote will blink a series of yellow and red LEDs, ending with a slow, blinking green LED, indicating that the Mote has successfully connected to WiFi. If the Mote only blinks yellow and/or red, you will need to configure the Mote with the appropriate WiFi credentials before continuing.
1-2 Once the Mote has connected to WiFi, replace the cover, place the device on the mount, place the S-ring over the top of the device and thoroughly tighten the S-ring clockwise at the base.
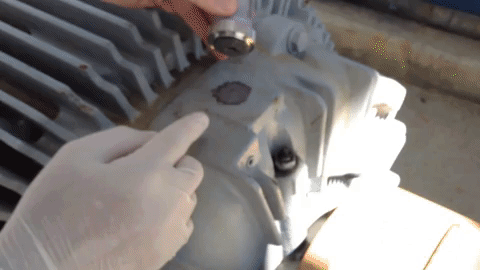
Step 2 – Prepare the machine surface
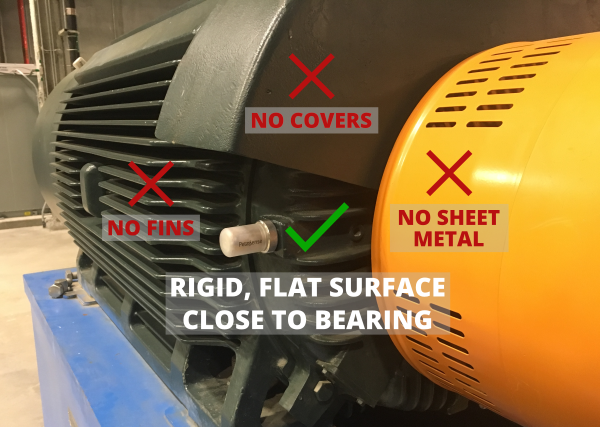
2-1 Identify a mounting location. The ideal mounting location will be a rigid, flat surface close to where the bearing is located on the machine. Avoid mounting on sheet metal, protective covers, fins or other flimsy surfaces that are prone to rattle.
2-2 Use the rotary tool to strip the paint from the mounting location on the machine.
2-3 Apply some of the soap-water mixture to a shop towel and wipe off any dirt or particles from the sanded mounting location.

Step 3 – Mix the epoxy
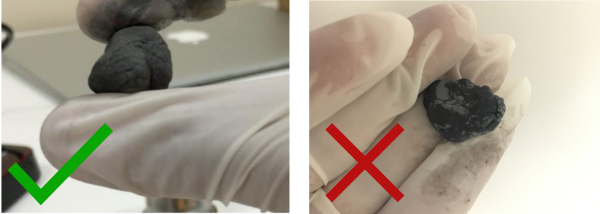
3-1 Wearing rubber gloves, kneed one piece of 2-part steel-enforced epoxy thoroughly in your hand until the color is uniform. Ensure that the epoxy is in good condition (firm and slightly moist, not too hard or crumbly). Once the epoxy is mixed, you will need to apply it to the Mote quickly or it will start to harden.
3-2
Roll the epoxy into a 2-3 inch strip then form a ring on the bottom of the Mote mount. Apply some pressure to ensure the epoxy ring sticks to the mount.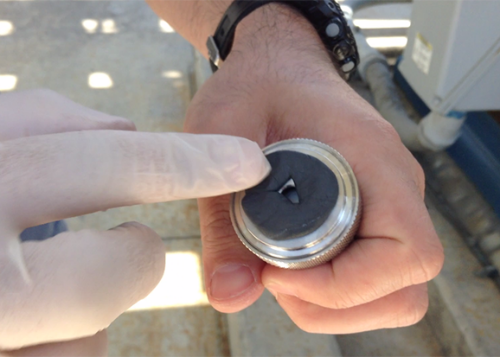
Step 4 – Mount the Mote
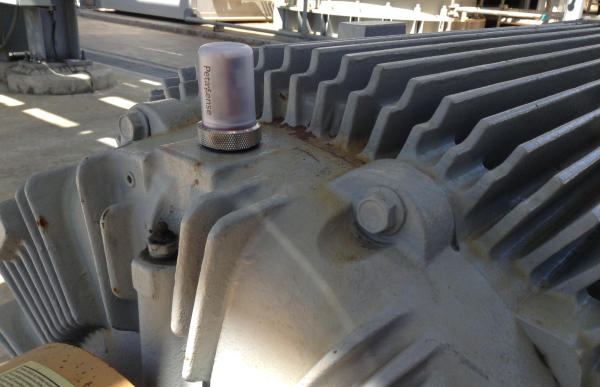
4-1 Place the Mote on the mounting location with the Petasense logo facing the closest machine shaft. Press down firmly for 15-20 seconds.
- Note: It is important that the Mote is mounted with the Petasense logo facing the direction of the machine’s shaft for orientation purposes
4-2 Visually check that the epoxy is only bonded to the bottom of the Mote, not touching the knurled S-ring above the mount. If it is touching the S-ring, use the X-Acto knife to push the edges of the epoxy down toward the machine surface, so that the S-ring can be removed in the future for battery changes.
Mounting Complete!